
I used Katie's (at least I believe that's her name, I can't really remember,) tutorial as a basis for making my own garter. I was going to use her tutorial step by step, but I realized that my elastic was wider than my ribbon, so I couldn't tread it through my garter like she did.
Anyways, grab your elastic, fabric, ribbon, pins, thread and sewing machine. I used 1" elastic, 7/8" ribbon, and a piece of fabric that was 4" x 1 yard.
This is where I pretty much deviated from the original tutorial.
I first sewed my ribbon on my fabric so that it would be in the middle and the seam would be on the back once I made my tube.


(please excuse my filthy floors)

Ribbon sewed to the fabric (again about the floors.)
Next, pin the ribbon right sides together to make a tube.

Once your tube is sewed, start turning it inside out so the right sides are outside...

...like so.

Next, attach your elastic to a safety pin and something you can slide through the tube. I used the key to my new baby, but you can use anything.

Next, bunch up the fabric in the middle of your elastic and pin the ends of the fabric tube flush with the ends of the elastic. Sew the ends of the tube shut so the elastic won't move.

Put the right sides together and sew the ends together making a complete circle.

Et viola, you have a garter.
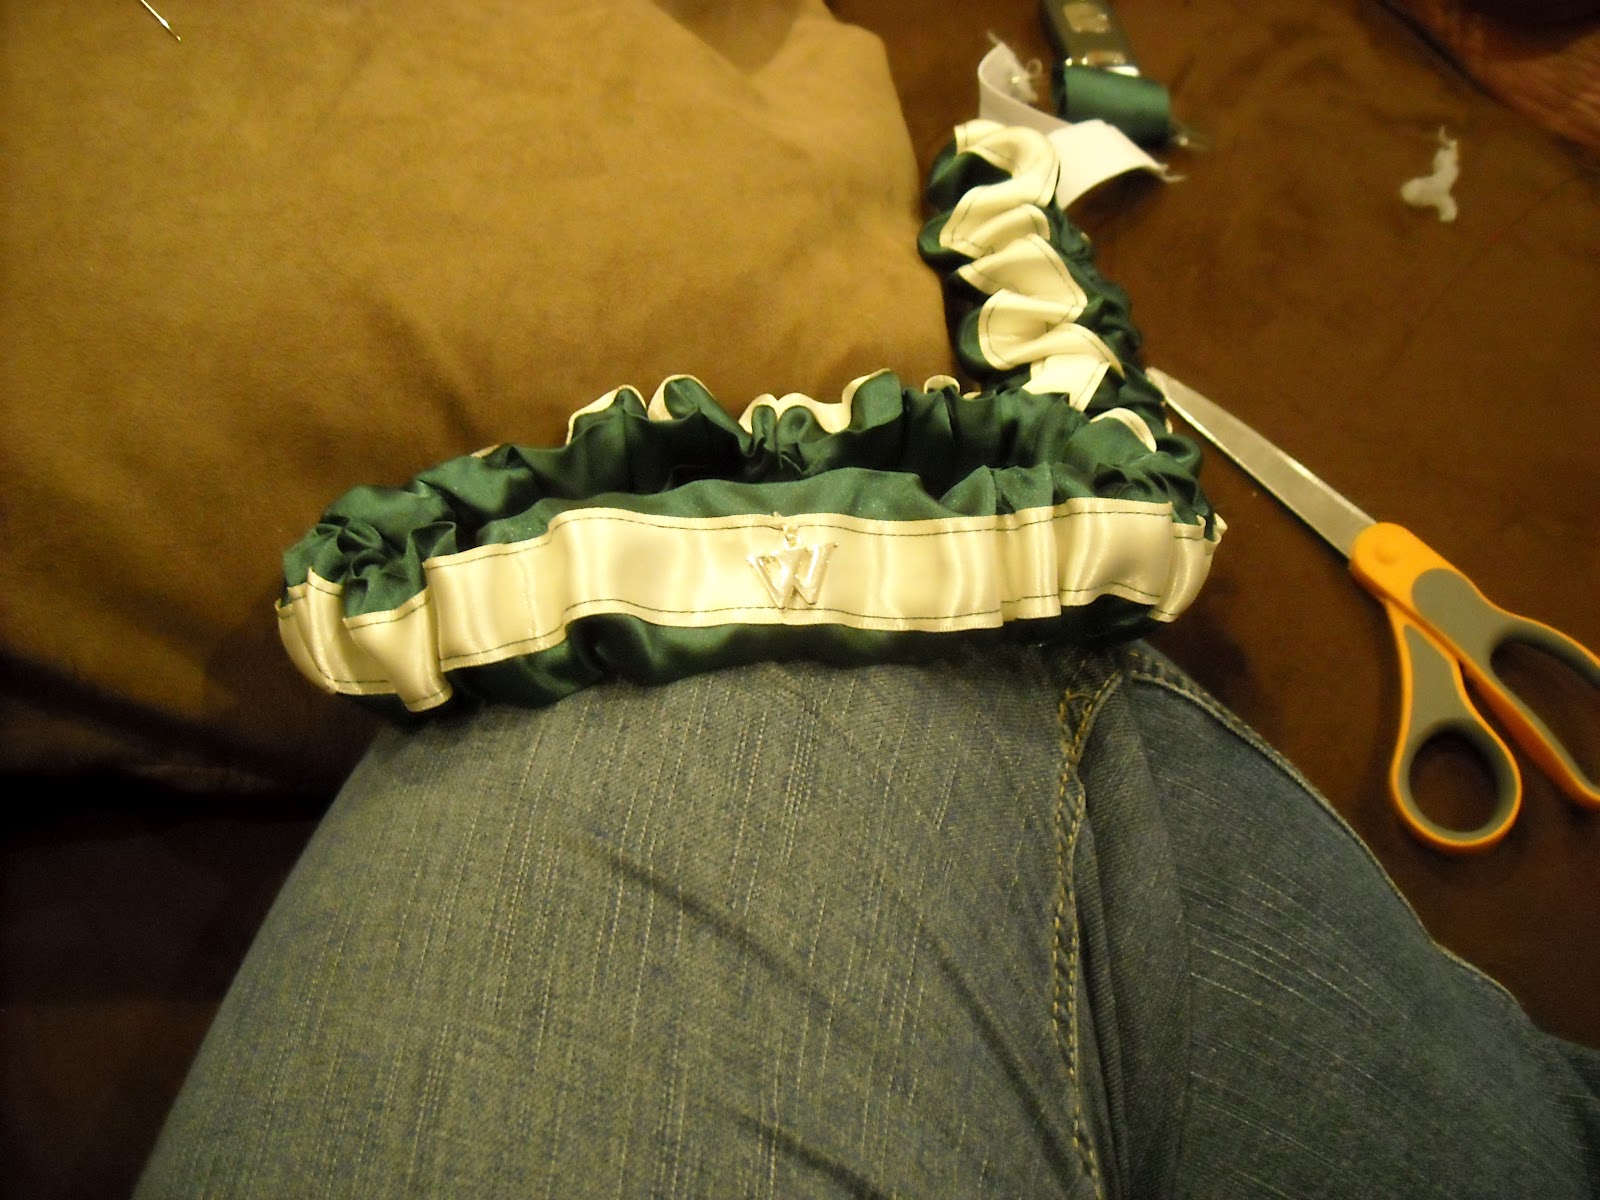
Attach a cute charm (it's hard to see, but there's a 'W' in the middle for my new last name,) and you have a completed garter. I did this twice so I had one to toss and one to keep.

I'm not sure exactly how much I paid for all of the materials, but making this was way cheaper than buying two already made. I'd say I spent about $10 total to make two garters. Even though I was drooling over the ones sold on Etsy, I knew that this way was more budget friendly. Honestly, it wasn't too difficult and it took me two nights to finish, about 5 hours total. In that time, I actually made three complete garters, but we decided that the first one I made was too fat.

See? Originally, I had the fabric 5" wide, but it was just too poofy so I scaled it down to 4 inches.
And that's it! Super simple and cheap. If you have any questions, feel free to comment and I'll try to clarify.
No comments:
Post a Comment